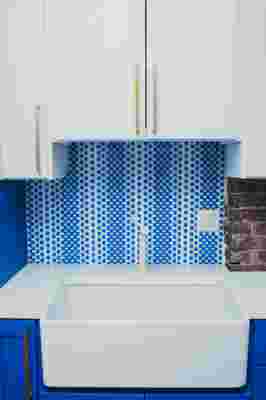
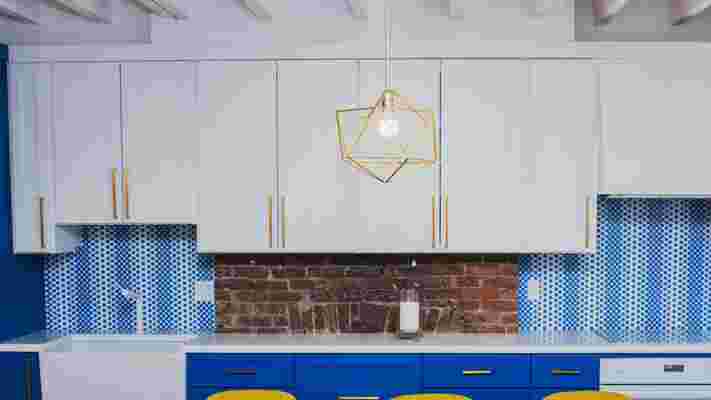
After shopping for what felt like an eternity for the perfect tile backsplash for his kitchen, Zahir Dossa, cofounder and CEO of Function of Beauty , found inspiration in the most random of places: a Lego store. He left that day with more than a feeling of nostalgia—he walked out of the Fifth Avenue brick-and-mortar with a clever design idea. His backsplash could be made out of, you guessed it, Legos.

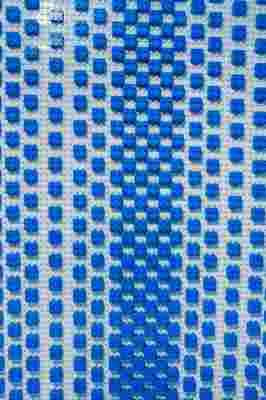
This funky, graphic backsplash is made of Legos.

When you get bored with the pattern, you can redesign the whole thing in a literal snap.
Not only is creating a backsplash out of Legos as custom as it gets, it’s also the gift that keeps on giving (like glitter, but not annoying). You can constantly switch up the patterns and colors of the backsplash—talk about a perfect project for those of us who are a tad indecisive. And if that’s not convincing enough, Legos are also way more affordable than tile. The entire project cost Zahir just $500. “Great design doesn’t need to be reserved or overly expensive; it can be engaging, accessible, and creative,” he says, and we concur. Don’t get caught up in buying a pricey backsplash that wasn’t designed with you in mind. Instead, jump on the DIY train and create a one-of-a-kind design like Zahir's. You’ll be shocked at how easy the process is. . . .
Architectural Digest may earn a portion of sales revenue from purchases made through affiliate links on our site.

See, Legos aren't just for kids!
Step 1: Suss out your wall situation Measure the length and width of the wall behind your countertop in order to figure out how many Lego baseplates and bricks you’ll need for your own kitchen. Remember to take into consideration outlets and areas where the cabinets jut out, as the baseplates will need to be cut to accommodate these.
Step 2: Customize the baseplates Use your utility knife to cut the Lego baseplates to fit around those outlets and other nooks and crannies. Careful, people! Slicing your hand open is not on-brand.
Step 3: Glue 'em to the wall No judgement if you have to google what a caulk gun is (we had to). Once that's sorted, use the tool to coat a 10"x10" portion of the wall with the construction adhesive, then mount a baseplate onto it. Repeat until whole backsplash is covered, then let the adhesive dry. Patience is a virtue!
Step 4: Have fun! Let your creativity guide how you arrange the Lego bricks on the baseplates. Figure out what looks best in your space by playing around with different patterns—Zahir ended up going with a mix of dots and stripes. The best part about this project is that nothing is permanent, so don’t forget to have fun. Legos are toys, after all!
